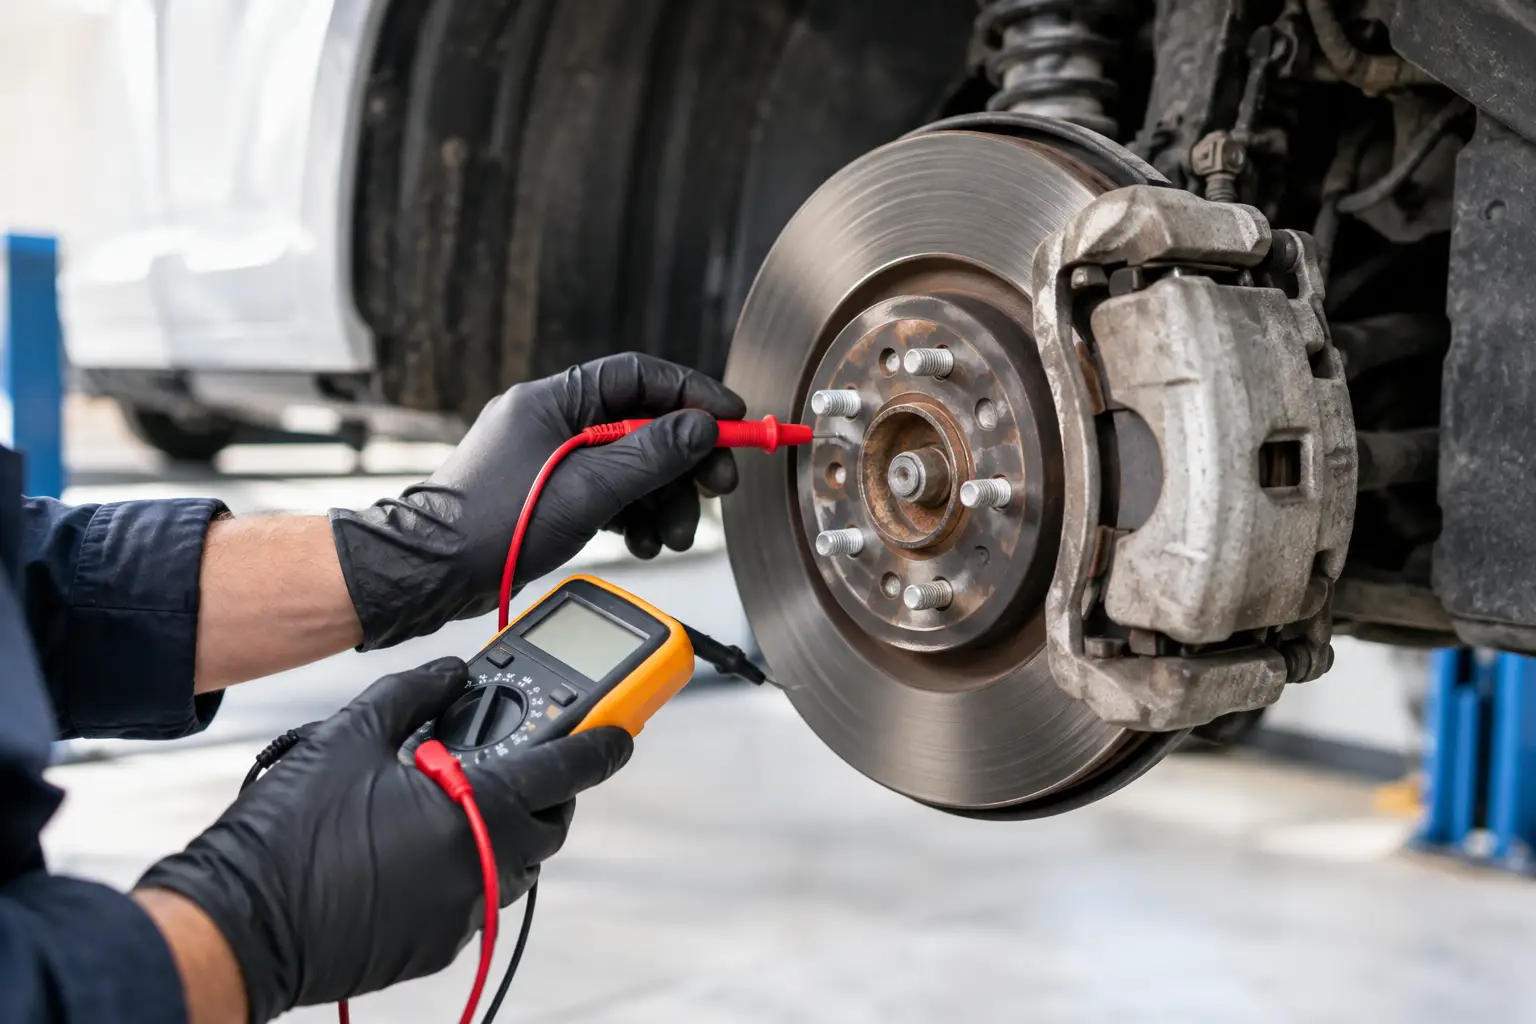
How to Test Brake Pads Safely on Your Car
A brake pedal that feels different on the school run or commute is not something to put off until the next service. Knowing how to test brake pads gives you a useful early warning, but it does not mean taking risks or guessing from a noise alone. Your brake pads, discs, calipers and brake fluid all work together, so a proper check combines what you can see with how the vehicle behaves.
Start with the warning signs
Brake pads wear gradually, which is why the first clue is often subtle. You may hear a high-pitched squeal when applying the brakes, particularly at low speed. This can be a pad wear indicator doing its job, although surface rust, damp conditions or dirt can also cause a temporary noise.
A grinding or harsh metal-on-metal sound is more urgent. It can mean the friction material has worn away and the metal backing plate is contacting the brake disc. Continuing to drive can quickly damage the discs and reduce braking performance.
Pay attention to changes in the pedal and the vehicle's behaviour too. A brake pedal that feels spongy, travels further than usual, pulls the car to one side, or causes vibration through the pedal or steering wheel needs professional inspection. Worn pads may be involved, but these symptoms can also point to a sticking caliper, warped or corroded discs, contaminated brake fluid, a tyre issue or a fault elsewhere in the braking system.
If the red brake warning light appears, or braking is clearly reduced, stop driving as soon as it is safe to do so. A red warning light can indicate a serious hydraulic fault or low brake fluid level, not simply worn pads.
How to test brake pads with a visual check
The most reliable home check is to look at the thickness of the friction material. Park on level ground, select park or first gear, apply the handbrake and allow the brakes to cool fully. Never inspect brakes immediately after driving, as discs and wheels can become very hot.
On many alloy wheels, you can see the outer brake pad through the wheel spokes. Use a torch and look through the caliper at the pad material pressed against the disc. The brake pad has a metal backing plate with a layer of friction material bonded to it. You are checking the friction material only, not the whole pad.
As a practical guide, arrange an inspection when the visible pad material is around 3mm thick. Pads at 2mm or below should be replaced promptly. New pads are commonly around 10-12mm thick, but dimensions vary by vehicle, so do not rely on a fixed number for every make and model.
Do not assume the outer pad tells the whole story. The inner pad can wear faster if a caliper slider is sticking, and front and rear brakes often wear at different rates. Some vehicles use electronic wear sensors that trigger a dashboard message, but not every wheel has one and sensors are not a substitute for routine checks.
If you need to remove a wheel
Removing a wheel gives a clearer view, but only do this if you have the right equipment and are confident using it safely. Loosen wheel bolts before lifting the vehicle, support it on correctly positioned axle stands and use wheel chocks where required. A jack alone is never a safe working support.
With the wheel removed, inspect both pads, the disc surface and the caliper. The pads should wear reasonably evenly on each side of the disc. Deep grooves, a pronounced outer lip, blue heat marks or cracking on the disc need attention. So does one pad being much thinner than the other.
Avoid touching the disc surface with greasy hands, spraying cleaners indiscriminately or pushing caliper pistons back without understanding the correct procedure for your vehicle. Modern vehicles with electronic parking brakes and brake wear monitoring can require a diagnostic procedure before rear brake work is carried out.
Check how the brakes perform on the road
A gentle road check can support what you have seen, but it should never be used to prove whether brakes are safe. Choose a quiet, dry road and drive normally until the vehicle is settled. Apply the brakes progressively at a low speed and notice whether the car stops smoothly and in a straight line.
Listen for repeated squealing, scraping or knocking. Feel for a judder through the steering wheel, pedal or seat. A vibration under braking may come from disc run-out, uneven disc deposits, worn suspension components or wheel and tyre issues. It is not automatically a brake-pad problem, which is why diagnosis matters.
Do not carry out emergency-stop tests on public roads. They add unnecessary risk and can mask the fault by creating more heat in already worn components. If the brakes feel weak, the vehicle pulls sharply, or the pedal sinks towards the floor, do not continue testing it. Arrange assistance.
Look beyond the pads themselves
Brake pads rarely wear in isolation. A worthwhile inspection includes the discs, caliper movement, hoses, brake fluid condition and warning systems. Replacing pads onto badly worn discs may lead to noise, poor bedding-in and shortened pad life. In many cases, pads and discs should be replaced together on the same axle to maintain even, predictable braking.
There are exceptions. If discs are within their minimum thickness, have a clean and even surface, and the pads have worn normally, pads alone may be appropriate. The manufacturer's specification and the actual condition of the parts should determine the work, not a one-size-fits-all rule.
Brake dust around the wheel is normal, especially with some pad compounds. However, excessive dust on one wheel, a hot wheel after a short journey, or a burning smell can suggest a binding brake. A sticking caliper can wear a new set of pads rapidly and may damage the disc, so it needs correcting before replacement parts are fitted.
When to arrange a professional brake inspection
Book a brake check soon if pad material appears low, a wear warning is displayed, or you can hear persistent noise. Arrange urgent help if there is grinding, a loss of braking power, strong pulling under braking, smoke, a burning smell, or a red brake warning light.
A qualified technician can measure pad and disc thickness accurately, inspect inner pads and caliper operation, check fault codes and confirm whether the issue is mechanical, hydraulic or electronic. This is particularly useful on vehicles with electronic parking brakes, hybrid regenerative braking systems or complex dashboard warnings.
For drivers who cannot easily leave their car at a garage, a mobile inspection can make the process more straightforward. Elite Vehicle Servicing can assess brake concerns at your home or workplace across Surrey and West Sussex, then explain what has worn, what needs attention now and what can be monitored. Clear measurements are more useful than being told simply that the brakes are “fine”.
How often should brake pads be checked?
There is no single mileage at which every brake pad must be replaced. Town driving, frequent stop-start traffic, steep hills, heavy loads and driving style all increase wear. A vehicle used mainly for longer motorway journeys may cover far more miles on a set of pads than one used for short urban trips.
Check brakes at each routine service and whenever wheels are removed for tyre work. Between services, a quick visual look through the wheels every few months is sensible, especially before a long journey. Remember that an MOT confirms whether the vehicle met the required standard on the day of the test. It is not a reason to wait if you have noticed a developing fault.
Brake pads are consumable parts, but the consequences of ignoring them are not minor. A timely inspection usually protects the discs, avoids larger repair bills and, most importantly, keeps the vehicle ready to stop when you need it to.
Comments